Week One
Project Management: Making a Website
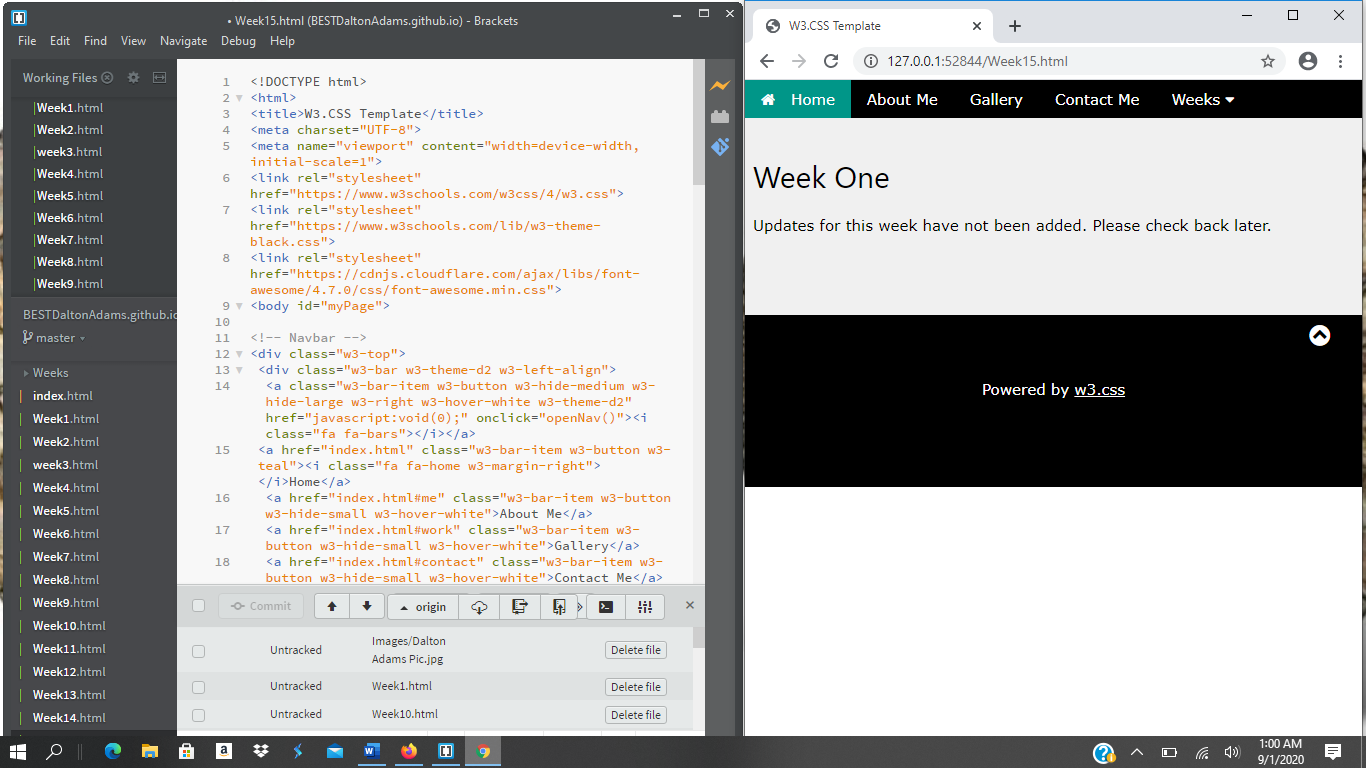
This week was all about making a website and getting all set up for the rest of the semester. Making a website not only gives us some great experience but also gives us a place to post all of our work for the rest of the semester. All other weeks will follow a similar template as this: A quick intro, pictures and videos accompanying descriptions of what processes were used that week, ending with a quick conclusion and a summary of what was learned. On weeks where possible, a picture of the final product will also be shared. This photo or another fun photo from the week can be found in the Gallery of the main page.
1. Mistakes

A wise sage piece of advice to any nieve viewer: never listen to your friends. When a friend tells you that you don't need to document the first steps of the first week's assignment, your friend is very wrong. Because I forgot this age-old wisdom, I am missing the documentation for the first several steps. From starting a GitHub account, to setting up a file location and system, to downloading brackets, nothing can be shown of the process.
2. "Hello World" and the First Error
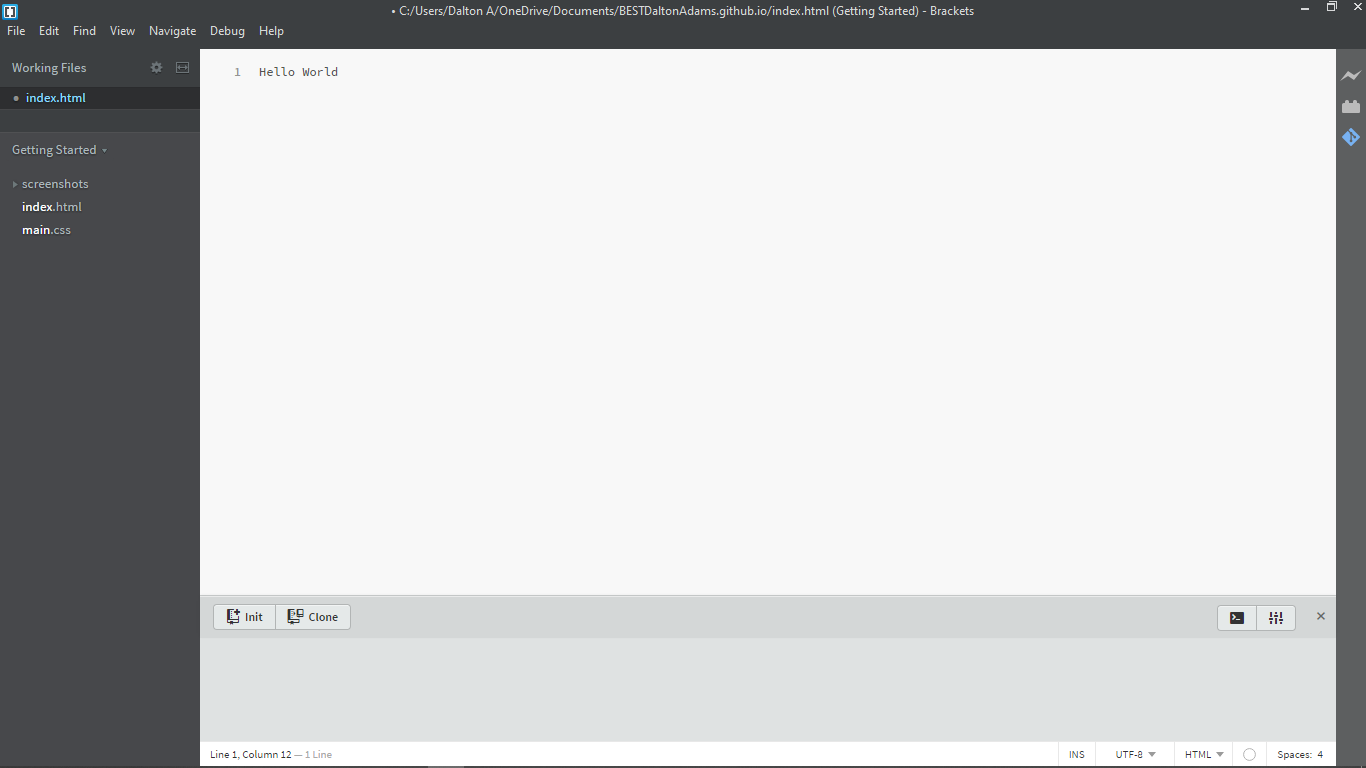
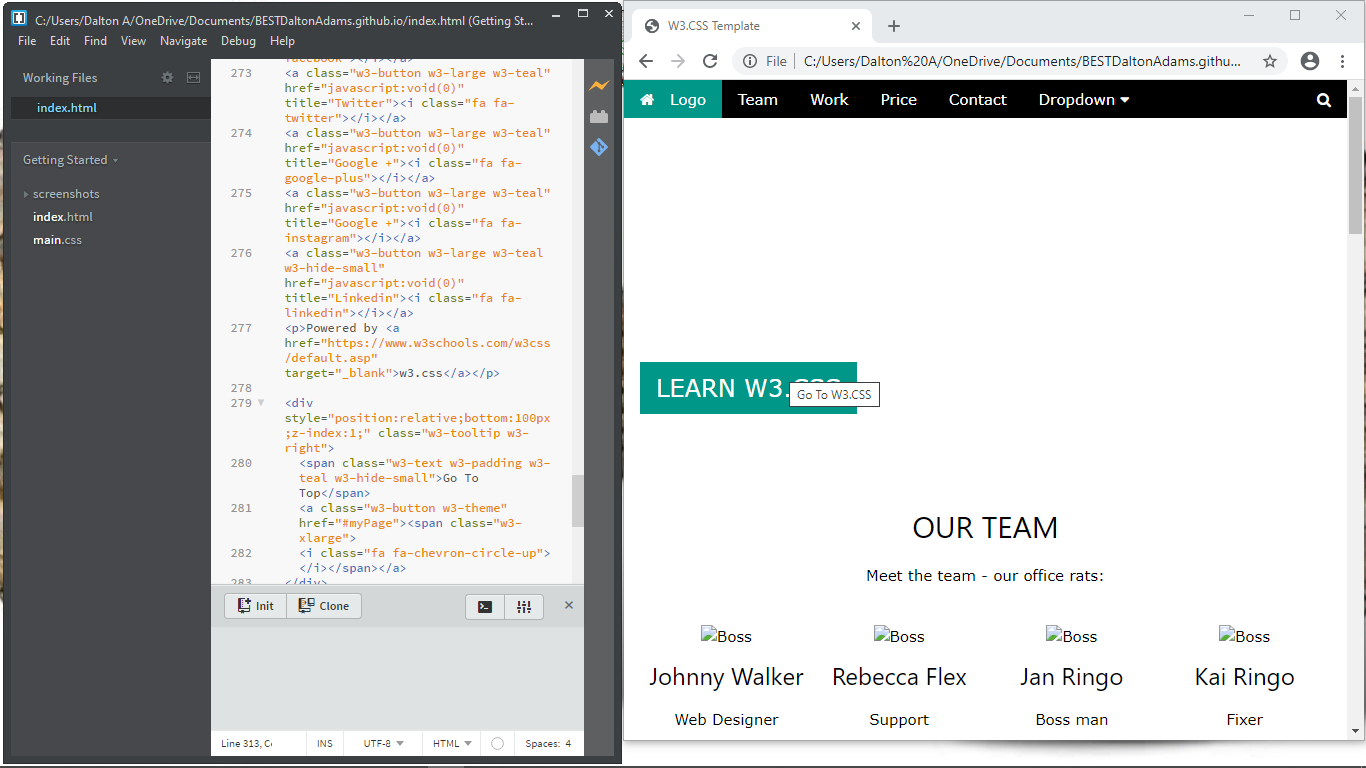
After Brackets was successfully downloaded, I was able to upload my index file. Normally, after opening the index file, you would immediately commit and push to file to make sure that the GitHub website is updating correctly. However, as can be seen from the photo above, the options to commit and push are missing. As a test, I added my template from w3schools, but the issue remained, as seen below. From that point, a whole lot of testing was done, including uninstalling "Brackets Git" then reinstalling it, starting the project over within Brackets, and even uninstalling Brackets itself and reinstalling. None of this proved successful.
3. Fixing My First Error
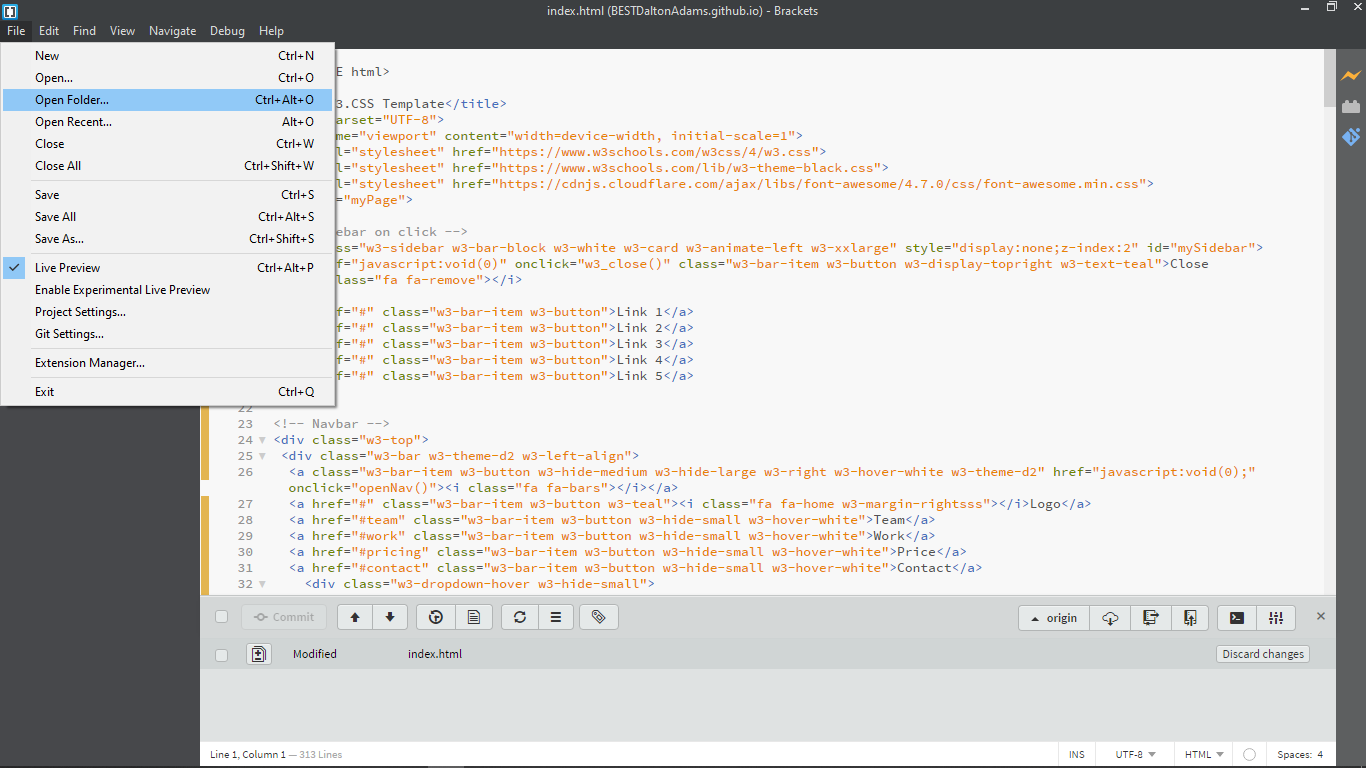
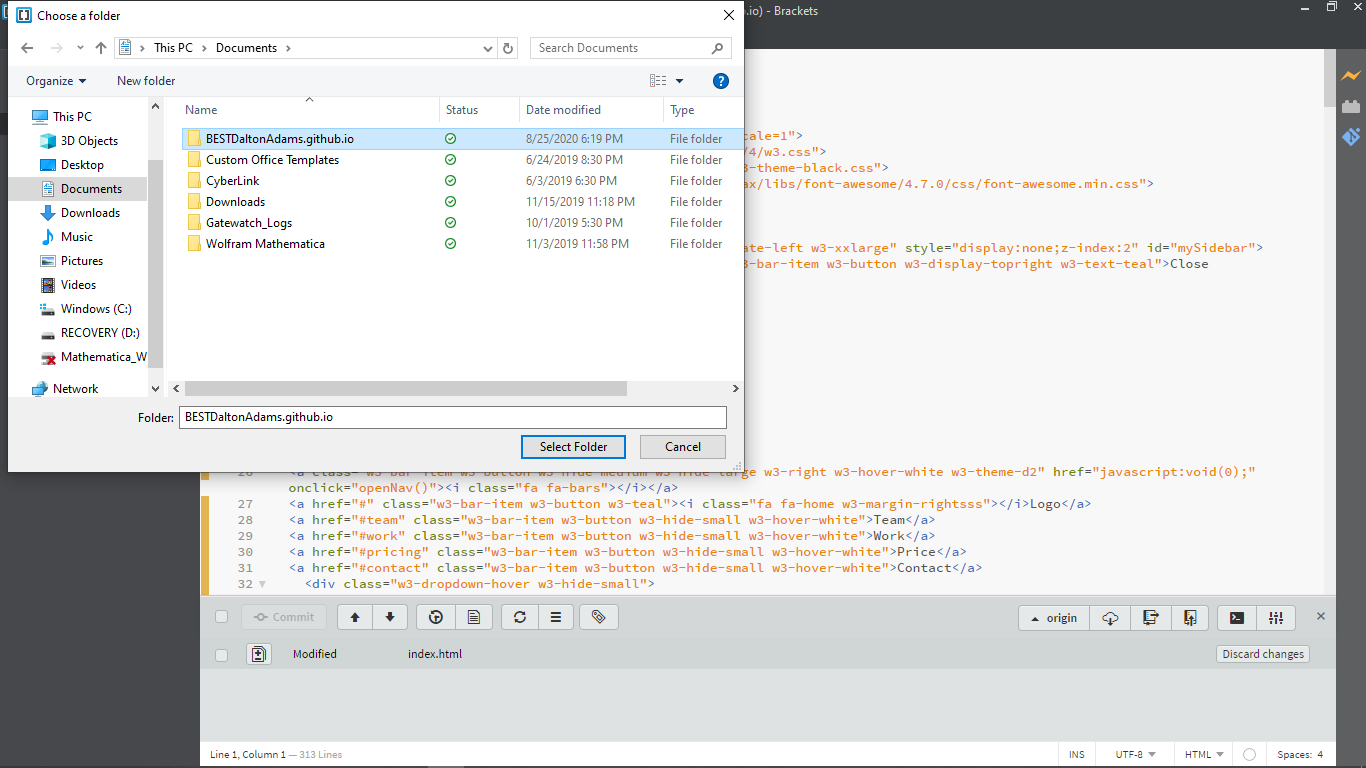
After all that testing, I realized that I had gone "file -> open" instead of "file -> open folder" when starting this project in Brackets. This left Brackets to finding a single file, but not knowing where to put it or what to do with the information. After realizing this, I was able to start over following the correct protocol as seen above.
4. The First Push
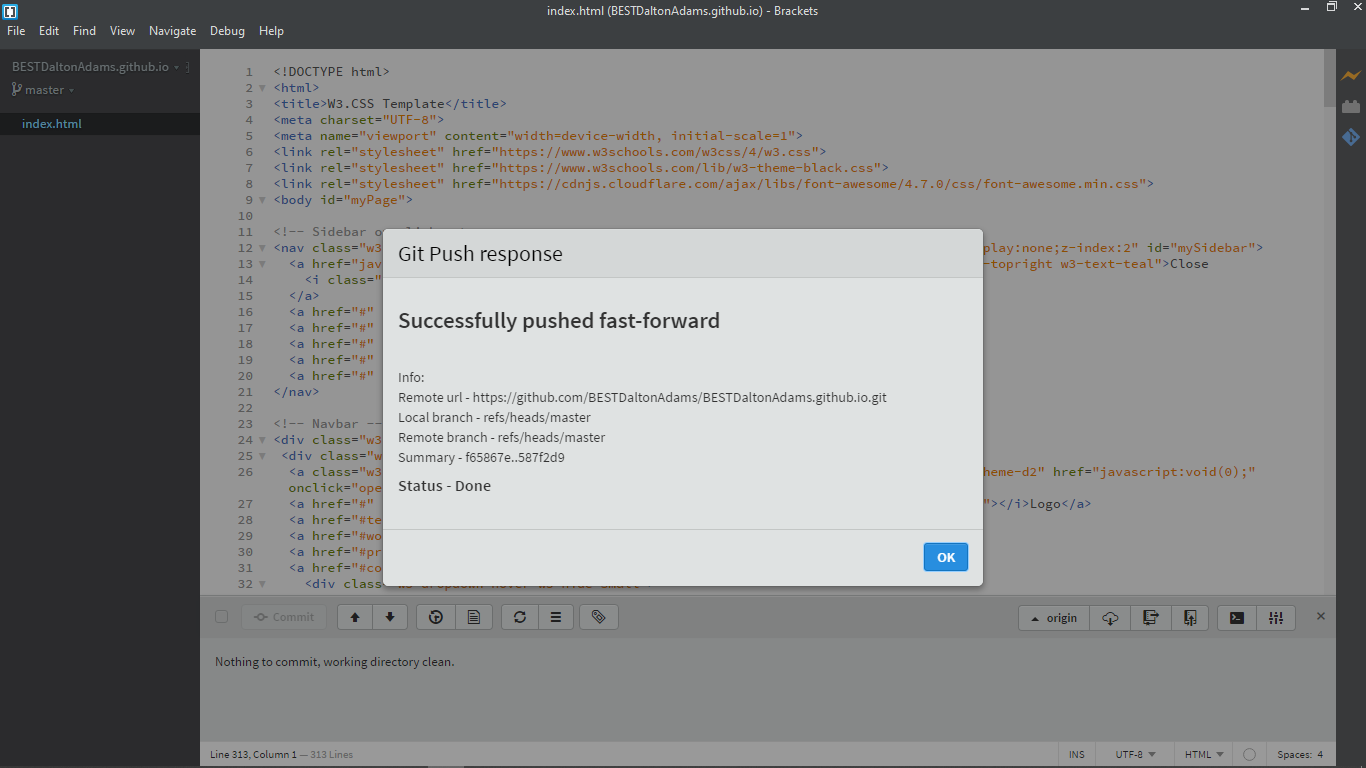
After having fixed the earlier errors, I finally was able to commit and push the original template. A Success, finally!
5. Some Basic Changes
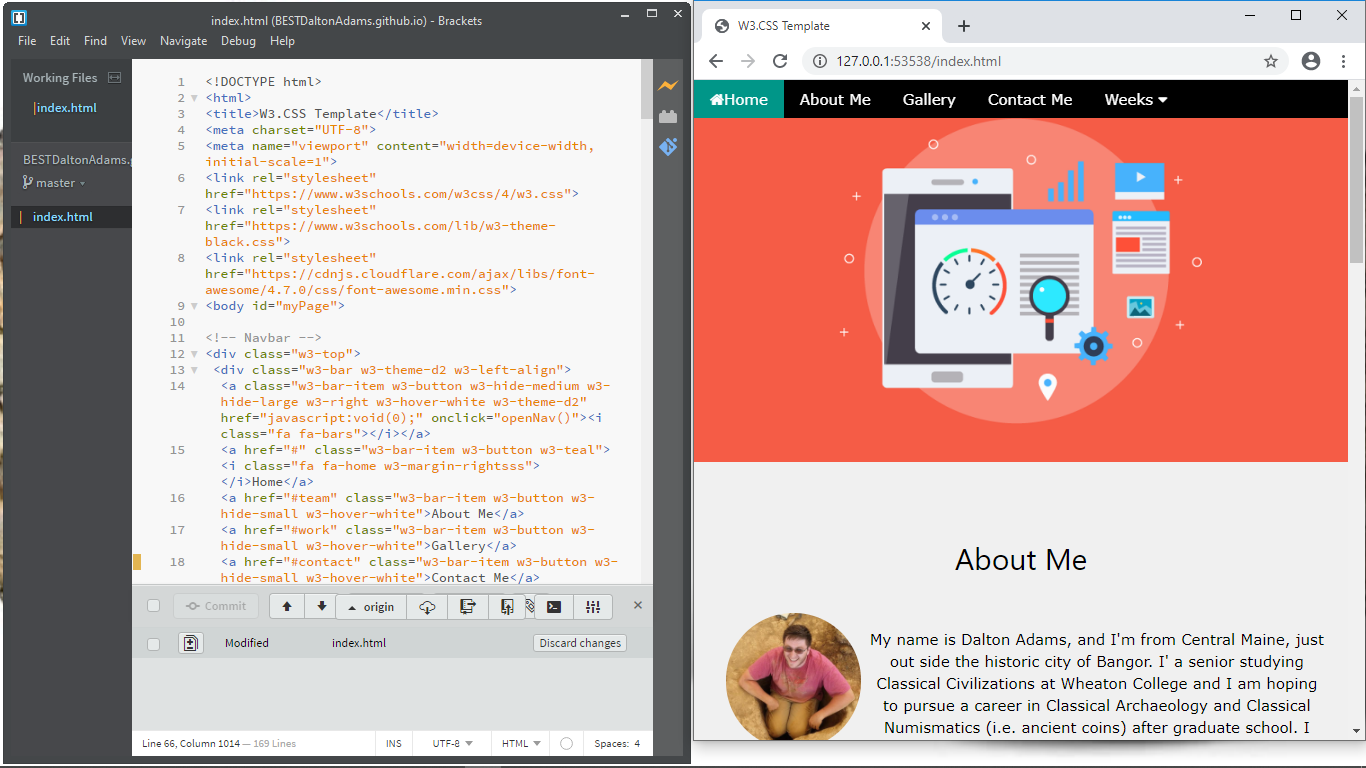
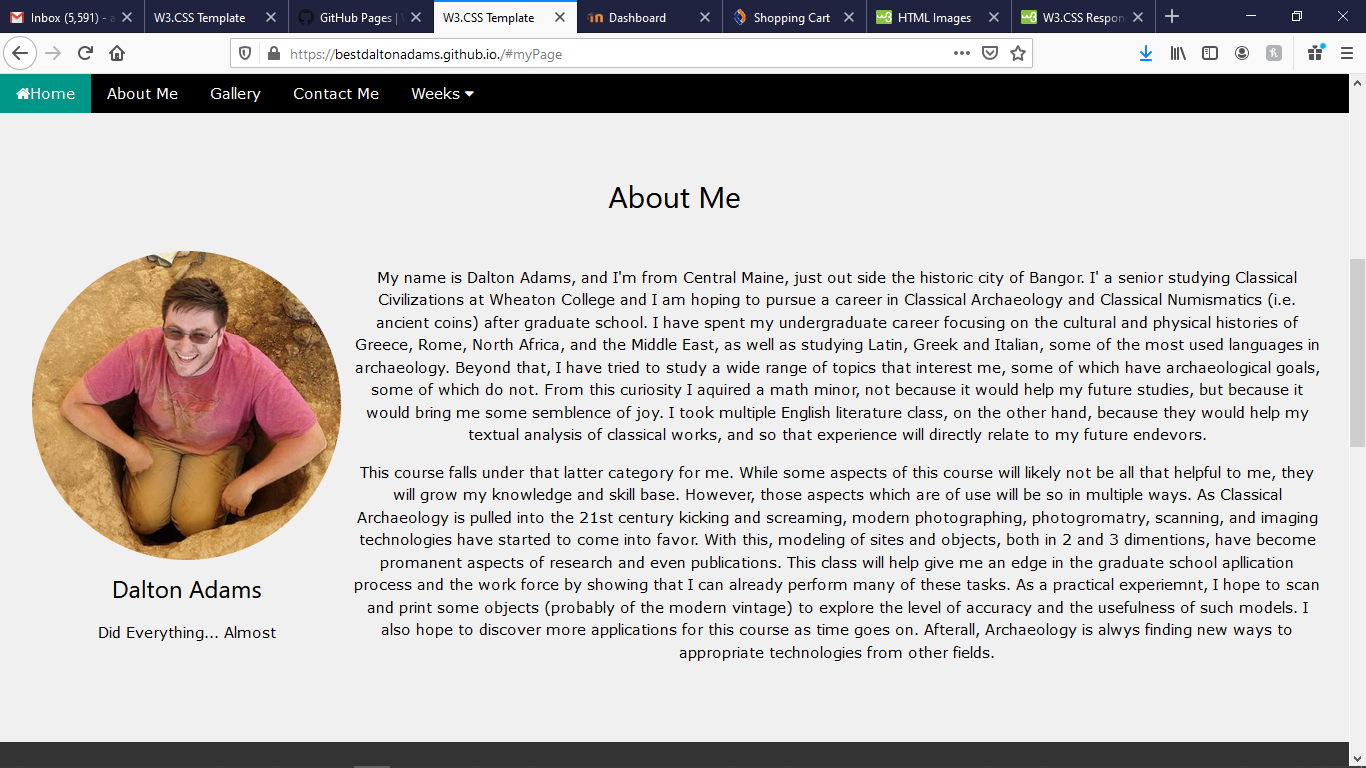
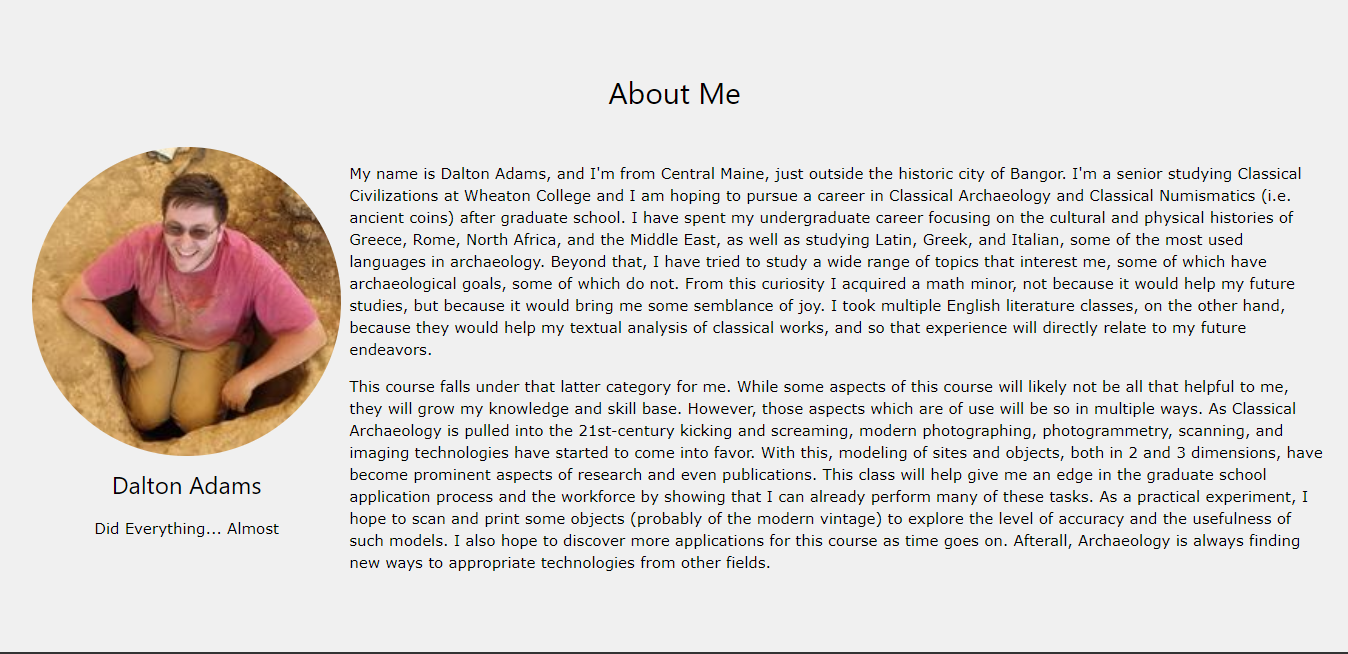
Within my limited skill set, I began to make changes to the template. Adding some filler photos of my own. Altering the names of important sections in the toolbar, and deleting unneeded section, while still being careful to only delete something when I was certain it was not going to be useful. It was at this time that the first draft of the "About Me" page came into being. With the help of w3schools, I was able to correctly proportion my photo and text, so that neither took up too much space on the page (they are one quarter and three-quarters of the page respectively).
I was beginning to come to the limit of my new found skillset, so I decided to commit and push for the night, and wait to get help the next day. Overall, while cosmetically my site now looked to be my own, the shell was decidedly still w3schools'. Still to this day, I have avoided adding my own code or when simply reusing their original code will suffice.
6. Second Push and a New Look
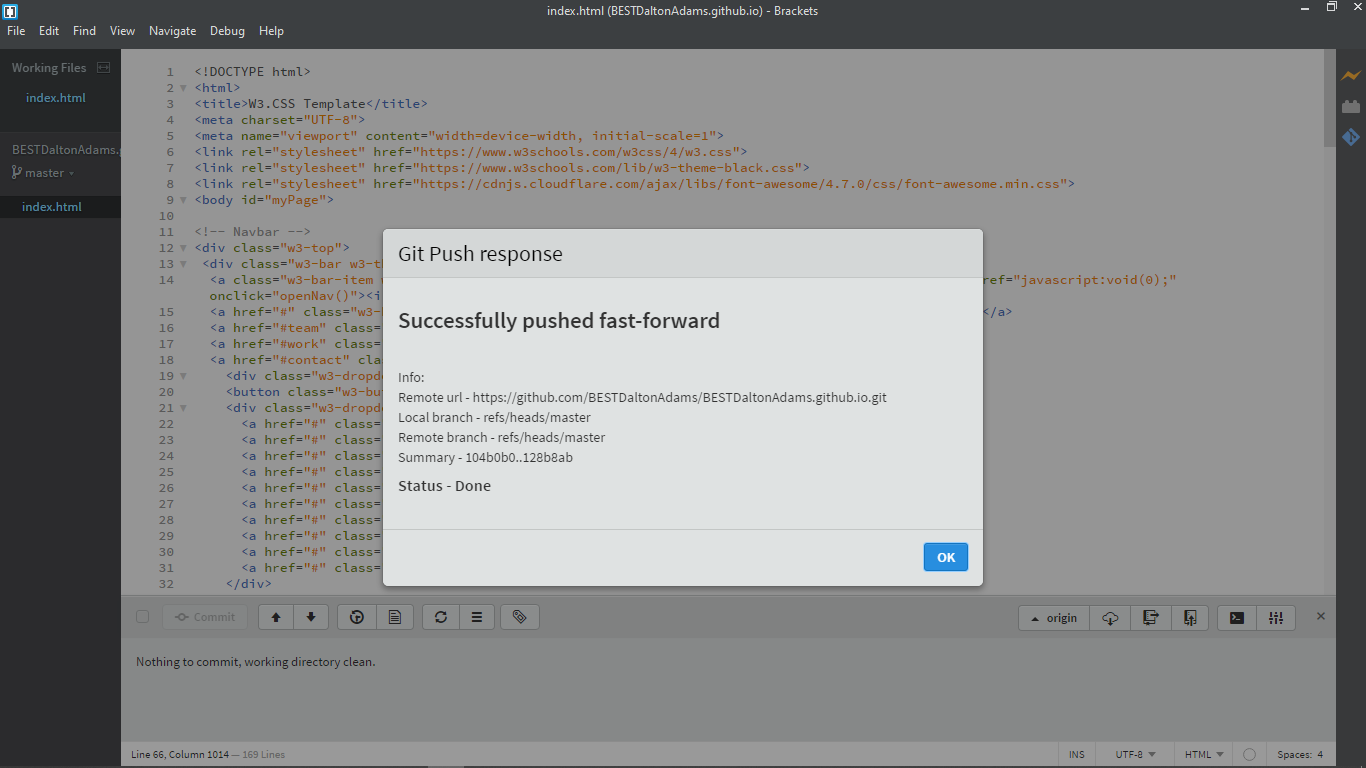
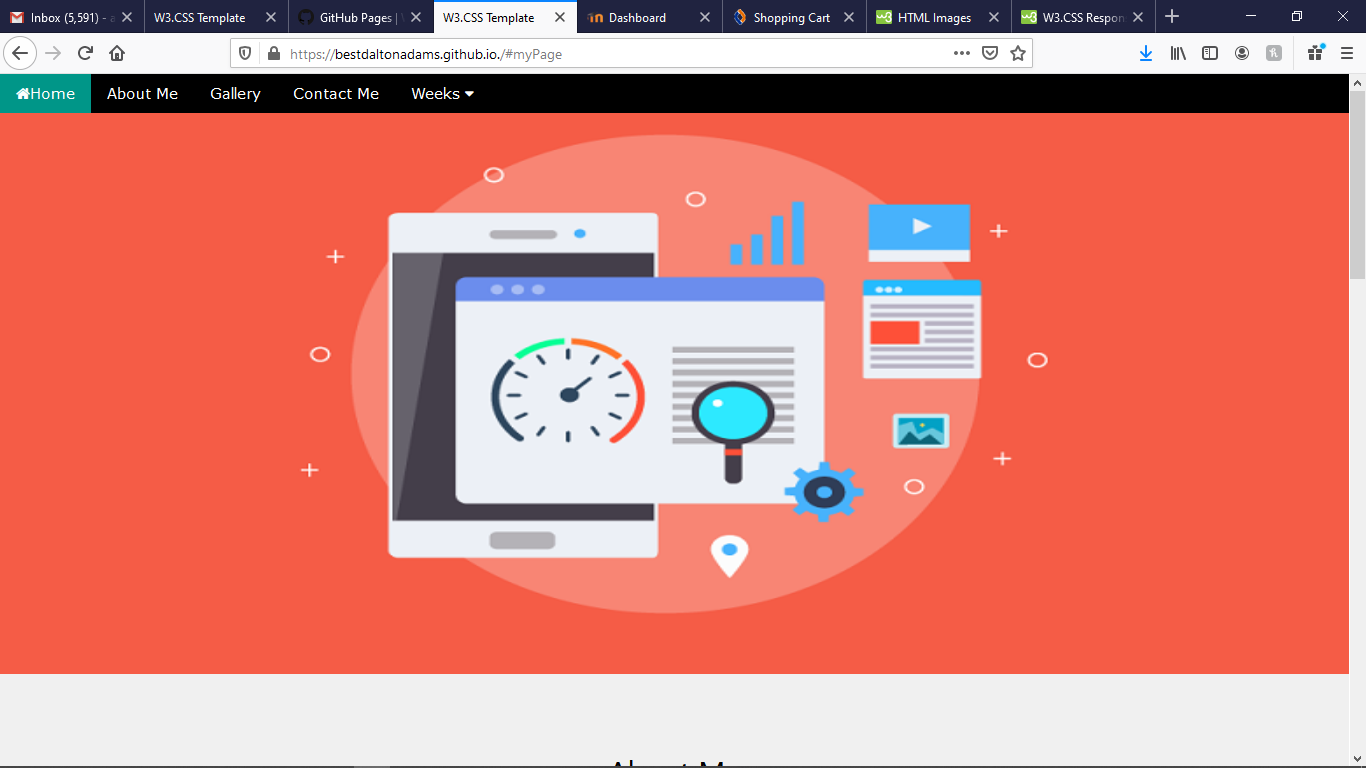
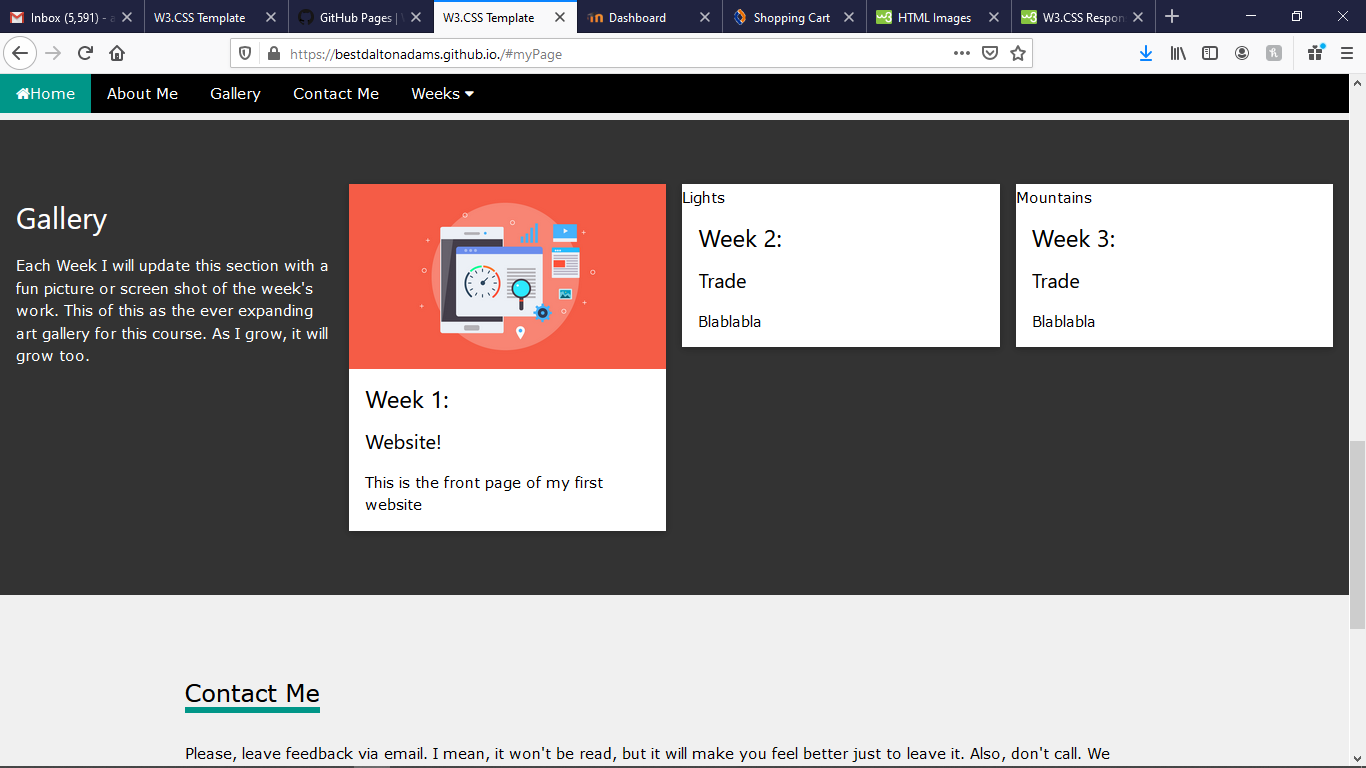
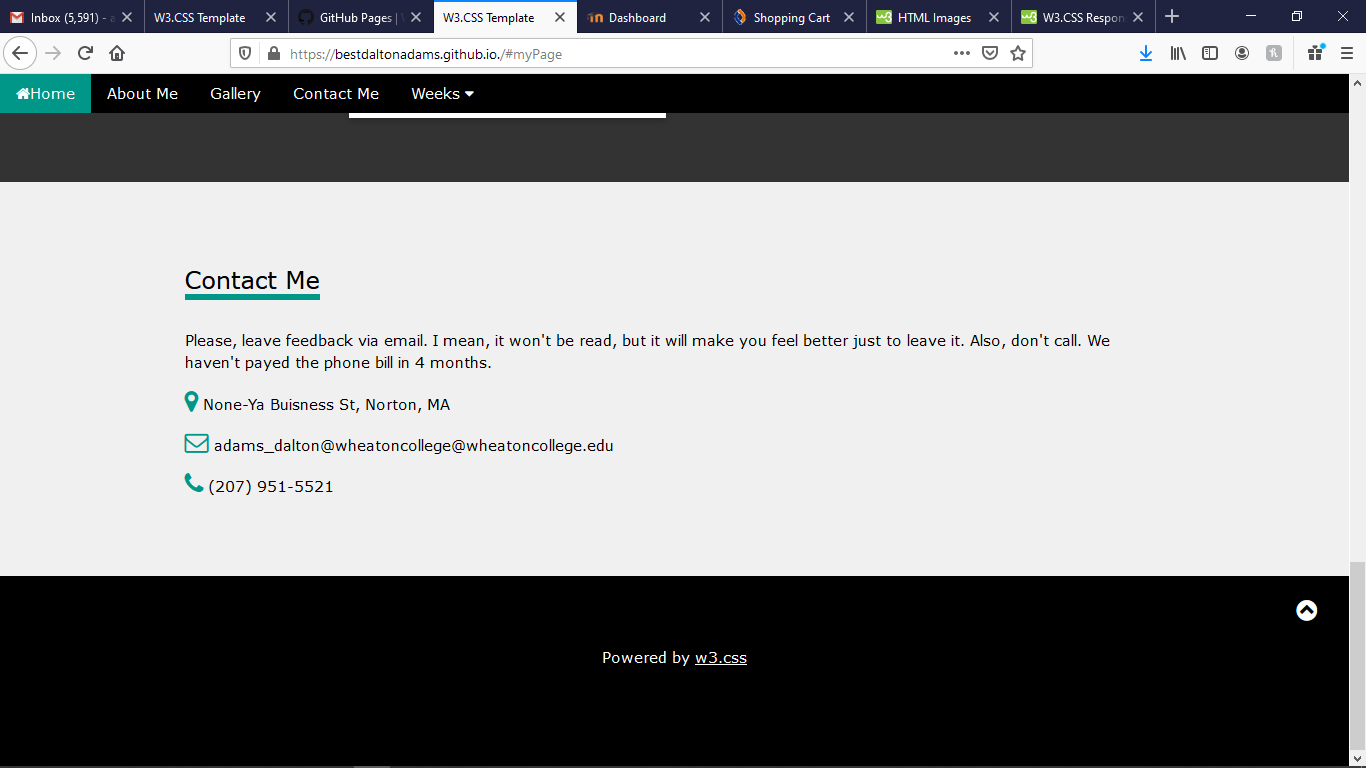
The second push was successful and a first look at my new website can be seen below. Even though a lot has changed, you can clearly see how I got from that first night to my final product.
7. Fixing Pictures
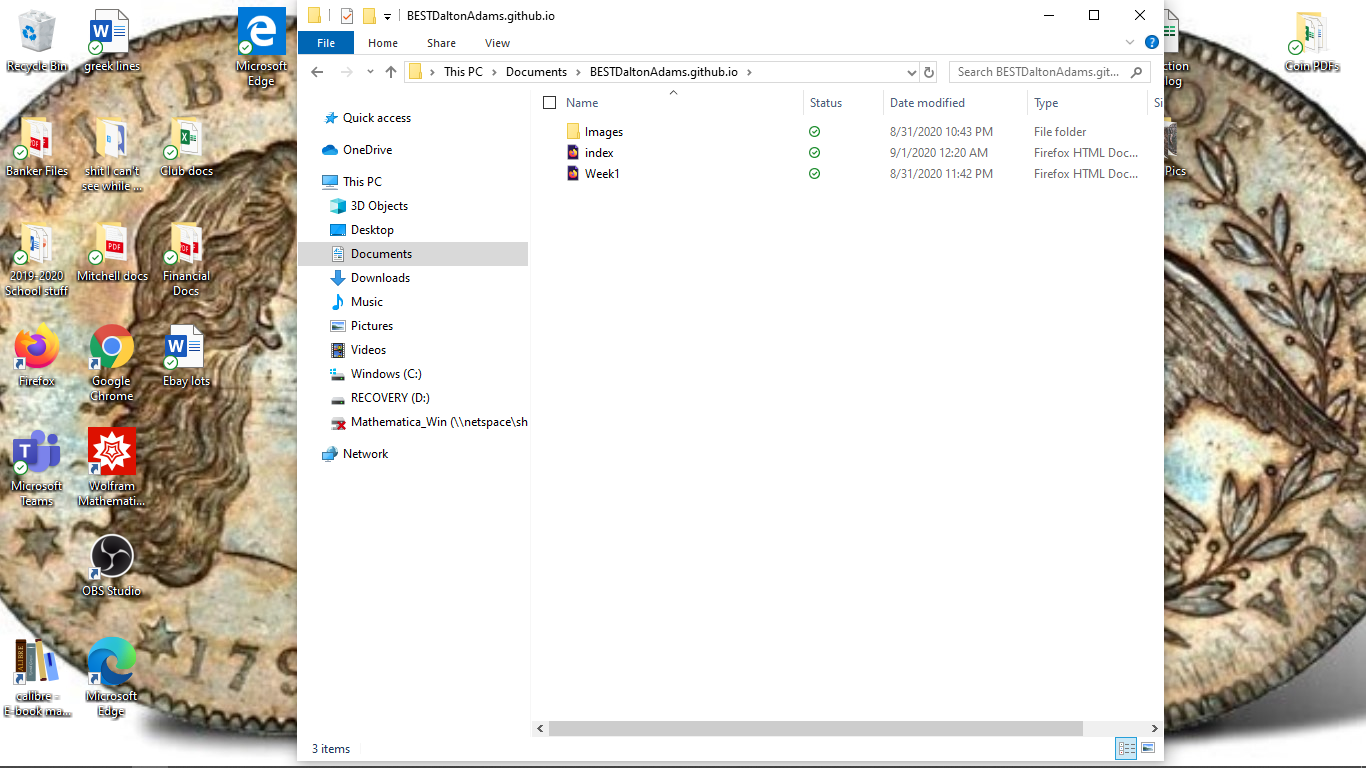
While I had come to what I thought was the end of my knowledge of HTML the night before, a quick discussion from Matt Goodwin gave me some ideas to move forward with. Among the places I had stalled the night before was an issue with images. I knew how to link images from a website, but not anywhere else. With some inspiration from Matt, I realized that I needed to make a new folder within my main folder. This new folder was labeled "images" and is easily substituted in place of any URL by typing "src="Images/file_name." The new file can be seen below.
8. New Pages - Weeks 1-15
My conversation with Matt was not only helpful for solving my picture problems, but it also helped me solve the last of my big hurdles. I did not yet know how to make new pages, one for each week, which would then be linked by "Weeks" dropdown menu.
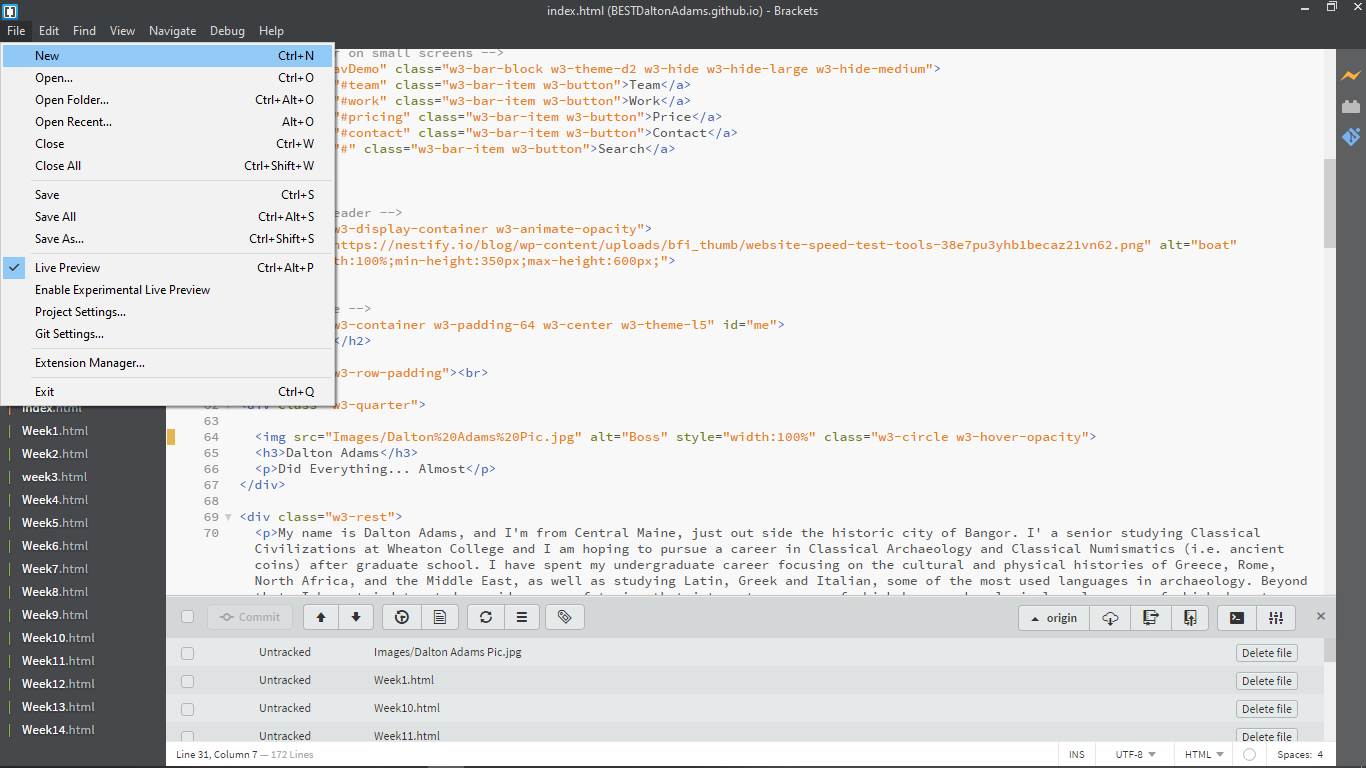
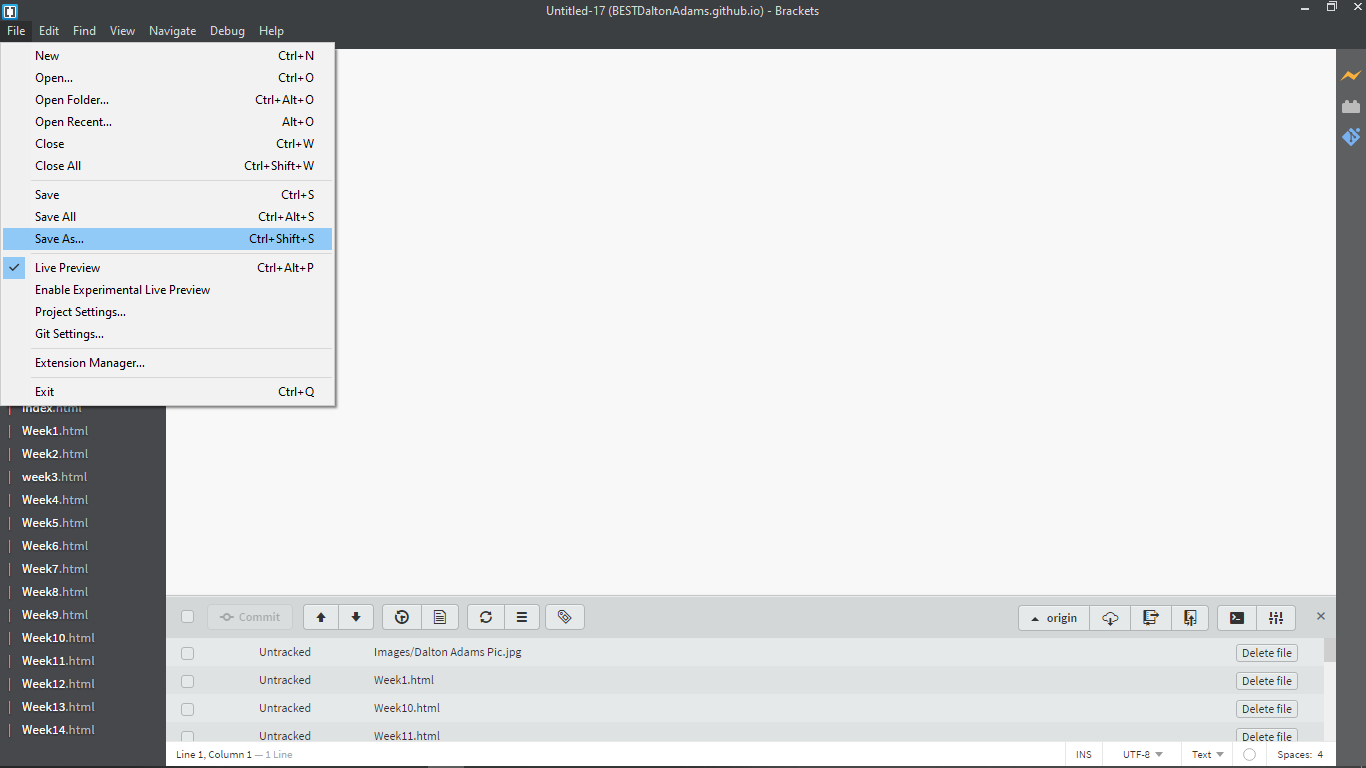
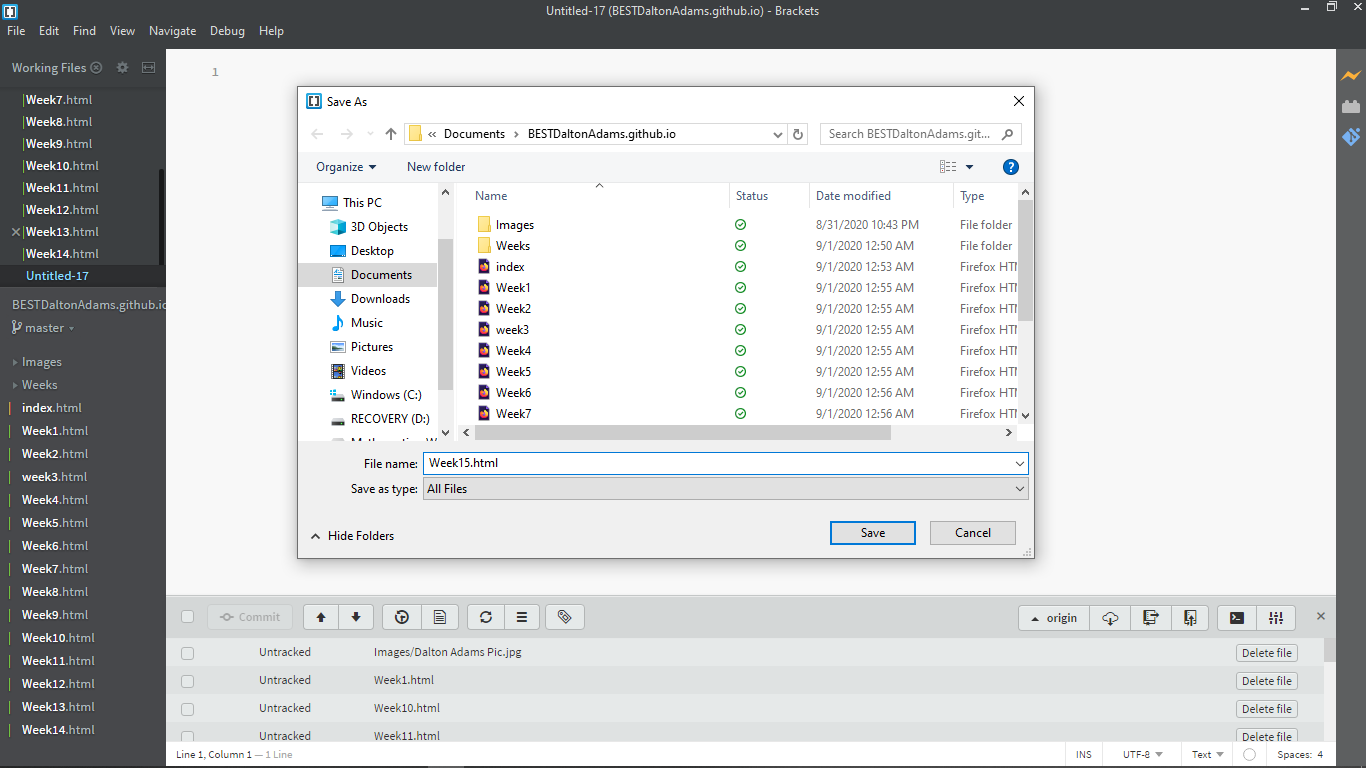
Having seen several other people's Brackets pages, and now having talked with Matt, I had an idea what the end product should look like, with my index.html on the left and a list of weeks pages below. But it was only after I experimented with adding an images folder that I realized the easiest way to accomplish this. I went "File -> New" then after making a new page, I went "File -> Save As" and saved the new page to the "BESTDaltonAdams.github.io" folder. This process was repeated 15 times, one for each of the standard weeks in a full semester (though we will not have 15 weeks' worth of material in this class).
9. Connecting the Pages
Taking what I had learned when altering the template the first time, I was able to quickly trim down the template to leave only what I needed within each week's page. I then copied and pasted that new template to each page. It was at this point, however, that I realized that none of the pages were linked together. Linking each week in the homepage dropdown was easy, simply going through the process of linking a URL but instead linking that week's folder. This was also made easier by using the already pre-made buttons as part of the original template.
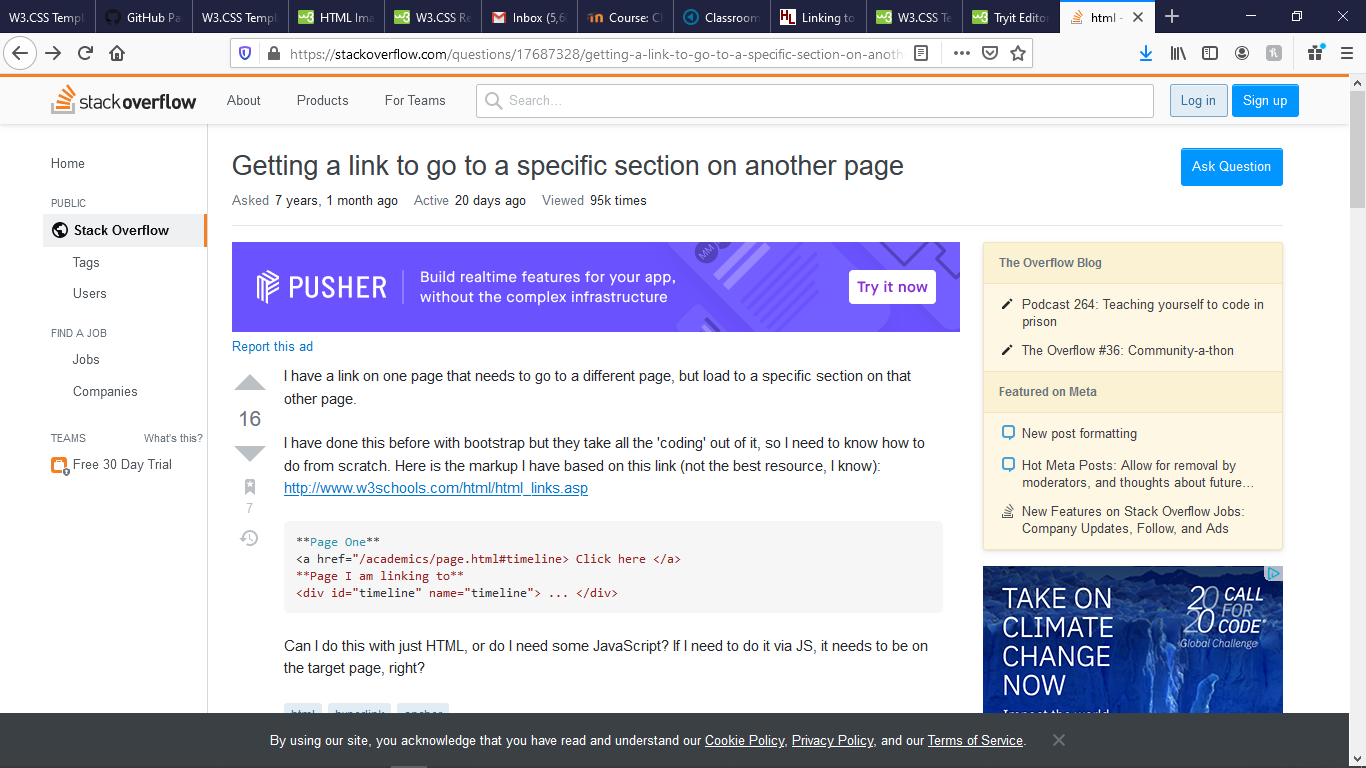
The bigger problem came when linking the buttons of each week's toolbar to the homepage, since those buttons link to specific sections of the homepage, which was now a completely separate page. Solving this required a google search, which yielded the below solution. By copying this, I was able to successfully finish all of my links for all of the pages.
10. Third Push
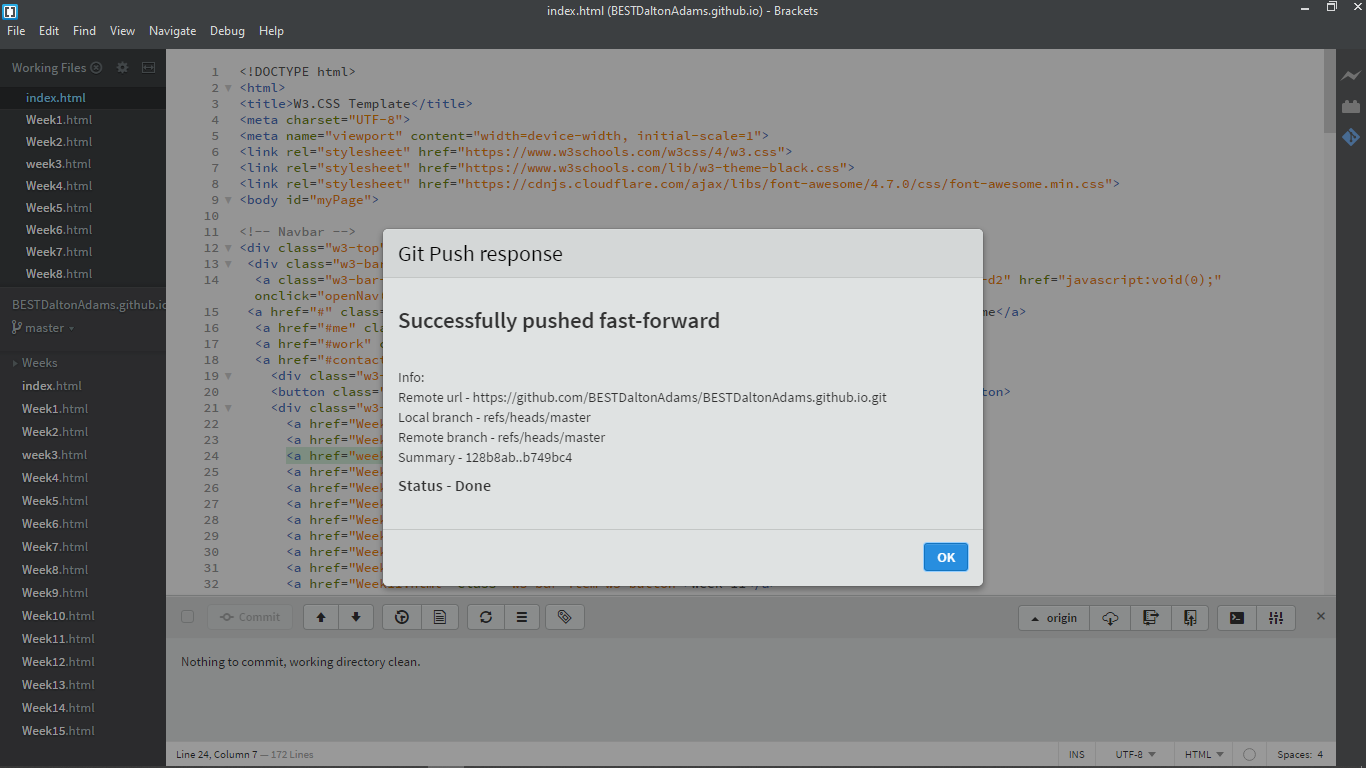
At this time, I had accomplished a lot on my own, but another day's work had come to an end. I still needed to finish some cosmetic problems on the homepage and work on my "Week 1," but that would have to wait. I pushed my most recent work and test to make sure all of my interlinkings worked and that my template alterations in Weeks 1-15 had not had any errors.
11. Final Cosmetics
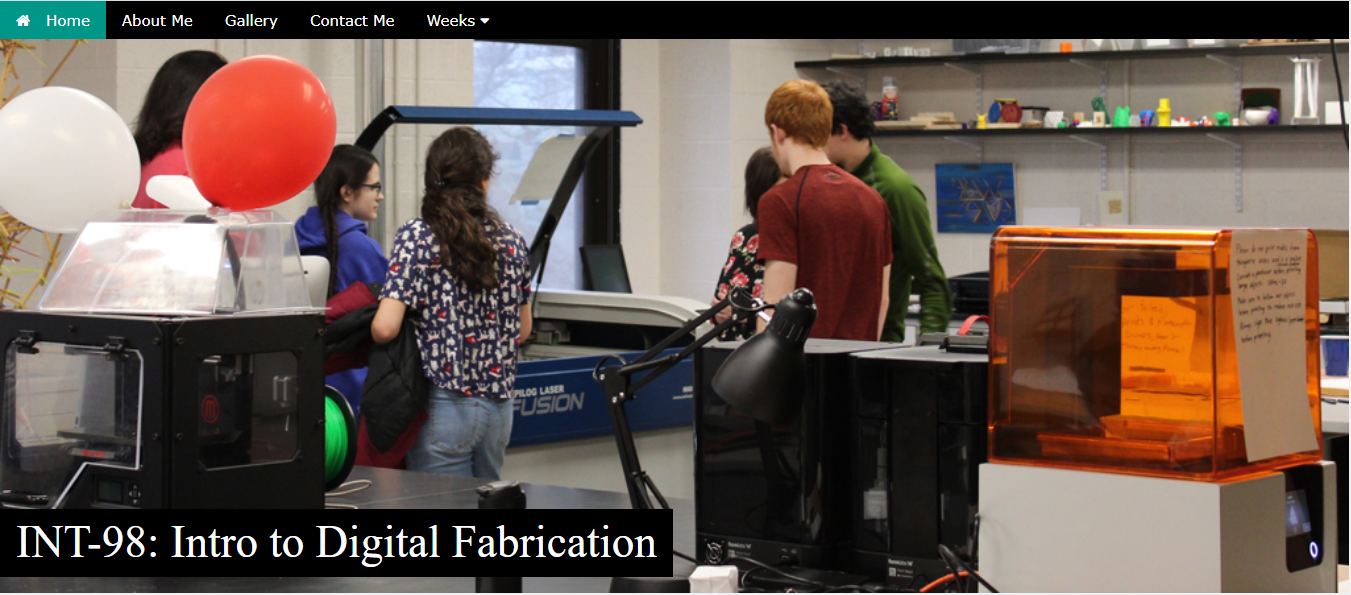
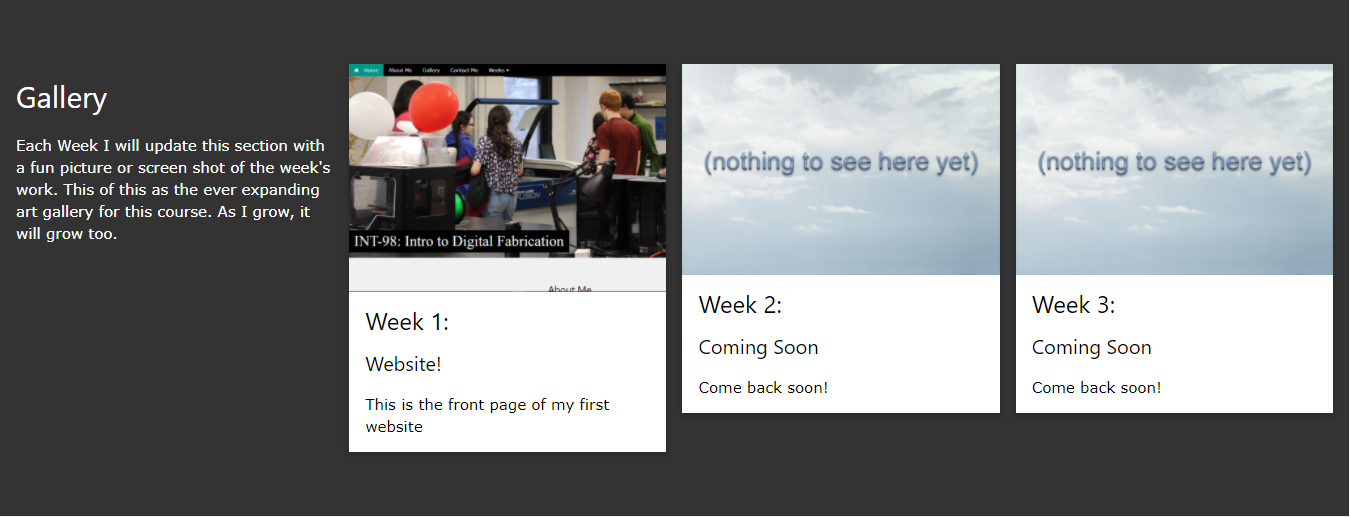
At this point, my website was nearly done. The skeleton was fully finished, but it was time to finish the skin. I was able to finish some of these final touches by myself, such as replacing placeholder images with the final ones. I did have two problems that required help. The first was getting my "About Me" text to be left set. After talking with Madison, we realized it was a formatting issue with the container which was a base setting from the original template. After comparing to other left set containers within the template, I was able to resolve the issue. The second issue was adding text over the lower left of an image, which reqired Kevin's help. After attempting to write our own CSS code and failing, we instead altered some of the w3schools code from a button which was over an image. With Kevin's help, we were easily able to convert that to being text over an image instead of a button over an image.
The results of these final cosmetic changes can be seen below. My homepage is now complete, though sections of it will be updated every week (if I remember). Now onto the last step for this week...
12. Getting meta and and beyond
It is at this part of the process that I say goodbye to week one. In this last step I am making the very page that you are reading now (please play mind being music in your internal monologue). This has been quite simple since in reality it is only a couple of headers, some paragraphs, and some images.
Now we go beyond meta - After this Week 1 page is finished, a future me (oh, the infinite possibilities) will put all of this in Grammarly and make sure that no major grammatical errors remain in my final project. Then an even more distant future me will push the final product, the final product that you are reading now (wait, are we back to just meta, oh who cares, you get the point).
There are no pictures, just an email sending this URL and a happy conclusion to week one.